Processing Incidents
- On the home page, your Assigned Incidents section will list all of the incidents that are assigned to you and are not yet completed.
- For any New Requests status incidents, you can check the Yes, mark in progress box to change the status of the incident to Work In Progress.
- You may enter the Action Taken, the Labor Hours for that day, and also mark the incident as Complete, all at the same time. *Note: You must check the Yes, mark complete button to save any information typed into the Action Taken or Today's Labor Hours fields.
- When you check the Yes, mark complete box and save, the current date will be listed as the Actual Completion Date on the incident and the incident status will change to Complete.
- If you need to reassign the incident to a different user, click on the Incident ID number in red to go to the full incident form. Scroll down to the Assignment Info section of the incident form and select that user's name in the Assigned To drop down. Click Save at the bottom of the screen.

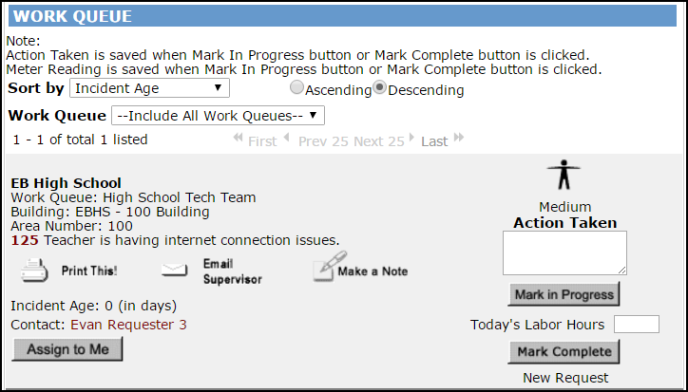
Assigning Incidents from your Work Queue
Work Queues can be created in the account to send new incidents to a group of users. If you have been assigned to a work queue, you have the ability to assign any incident in that work queue to yourself for completion.
- Scroll to the Work Queue section in the middle of your home page. Here you will see all incidents assigned to the work queue(s) that you are able to view.
- If you are assigned to multiple work queues, you can select the one you want to view from the Work Queue drop down list.
- Locate an incident you would like to assign to yourself and click the Assign to Me button.
- This incident will be removed from the work queue list and will appear in your Assigned Incidents section of your home page.